7 restaurant food photography tips to take better photos starting today
- • Importance of restaurant food photography
- • Smartphone photography done right
- • 7 essential food photography tips for restaurants anyone can use
- • Try TheFork Manager today
- • How to share restaurant food photos for maximum engagement
- • Transform good photos into more guests
- • Empty tables and ever-increasing costs?
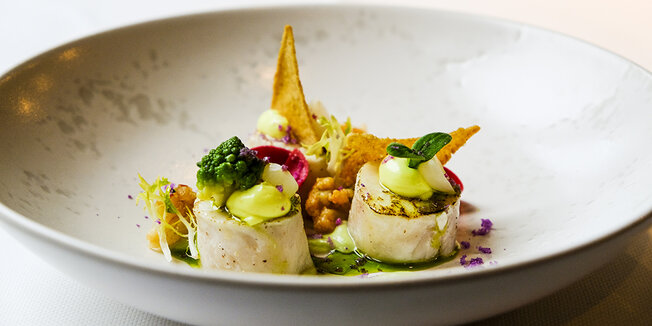
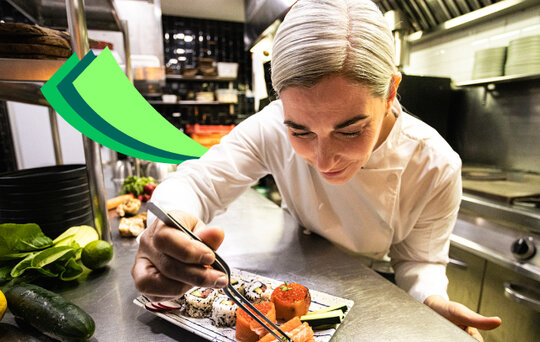
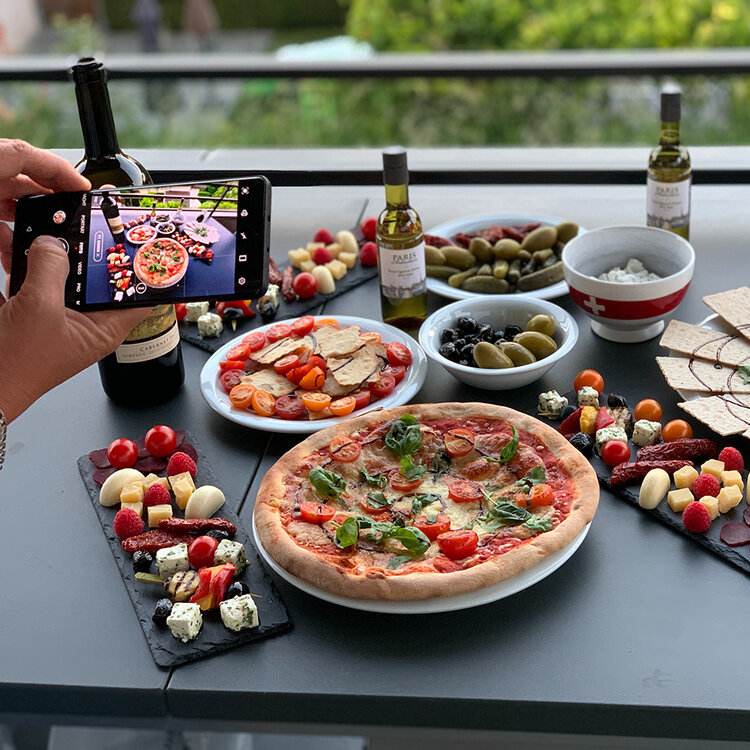
There's nothing that paints a better picture of your restaurant than actual pictures! Alongside your menu, your restaurant food photography acts as a major driver, transforming potential guests from hesitancy to reserving a table. In this article, we provide you with food photography tips that you can easily implement yourself, using just your mobile phone. This way, we'll guide you in capturing photos in and around your restaurant, ultimately attracting more guests.
Importance of restaurant food photography
Food photography in restaurants plays a vital role in determining success, as it creates an immediate visual impact on potential diners.
Today, most customers first experience a restaurant online when they search via search engines, maps, or social media. That’s why professional, eye-catching images can make all the difference.
A well-captured photo not only highlights your unique dishes but also sets the tone for the entire dining experience, drawing people in and piquing their interest before they set foot through the door. First impressions count—which is why sharing photos that showcase how irresistible your food is allows you to spark curiosity and inspire confidence in potential diners.
Whether it’s on your website, social media, or booking platforms, eye-catching photos build trust and credibility, making your restaurant more memorable and convincing people that it's worth a visit. Simply put, good food photography for restaurants turns casual interest into action, filling more seats at your tables.
Smartphone photography done right
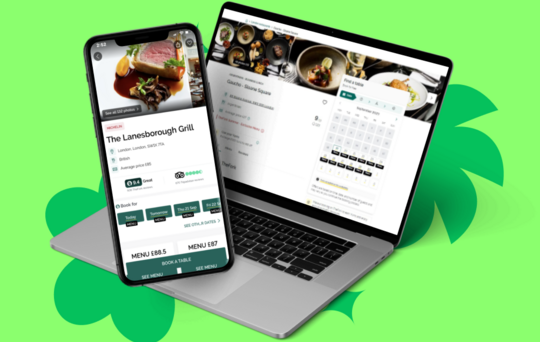
You don't need to be a professional photographer to snap a decent picture - although, of course, professional expertise does help. However, this article is all about how you can handle photography on your own, without the need for a professional photographer or equiptment. Most likely, you already carry a device in your pocket that's capable of capturing decent images. That's a great starting point for your new photo series, enabling you to enhance your restaurant's page on TheFork and boost the conversion rate of visitors to your restaurant page.
7 essential food photography tips for restaurants anyone can use
Crafting appealing photos of your dishes and restaurant using just your mobile phone is absolutely possible with the right techniques, which are equally applicable to those who happen to have access to a proper camera. Armed with these food photography tips, restaurant owners can capture excellent photos and attract more guests to their business.
1. Use Natural Light: Natural light is your greatest ally in food photography. Find a well-lit spot near a window or take your dishes outdoors to capture optimal lighting conditions. Avoid using the built-in flash, as it can produce harsh shadows and unnatural colors. Often, you can adjust lighting within your photo app by double-tapping, allowing you to choose the setting that showcases the dish best.
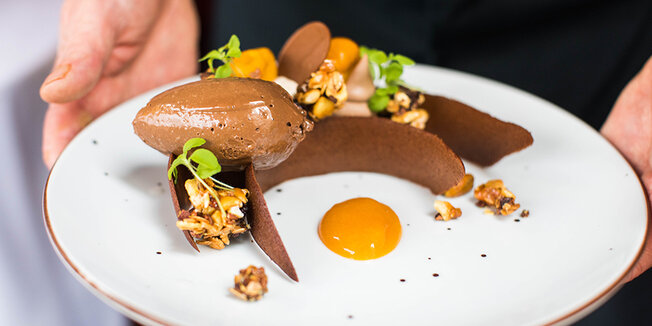
2. Choose a Simple Background: Opt for a clean and simple background that complements the dish without diverting attention. Solid-colored surfaces or minimalistic table settings work well, while busy or cluttered backgrounds should be avoided.
Try TheFork Manager today
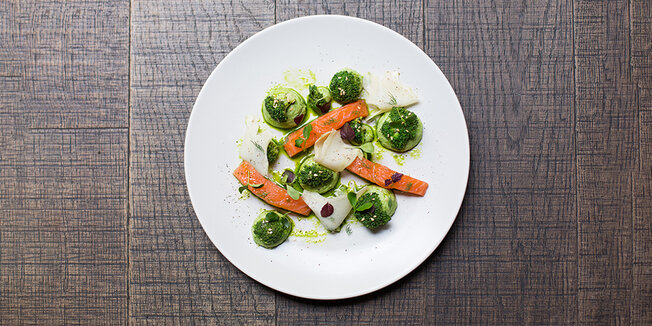
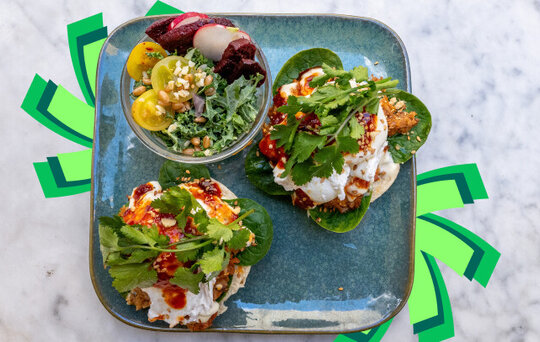
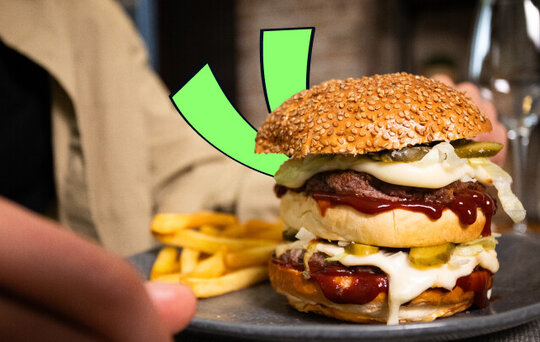
3. Compose with Care: Apply the rule of thirds by placing your main elements off-center to achieve a balanced and dynamic shot. Experiment with angles: capture overhead shots from a seat near a table, use 45-degree angles to present a dish as a guest would view it on their plate, and take close-ups to highlight intricate details. Use the phone's autofocus to lock onto the main subject, or tap the screen to set the focus manually.
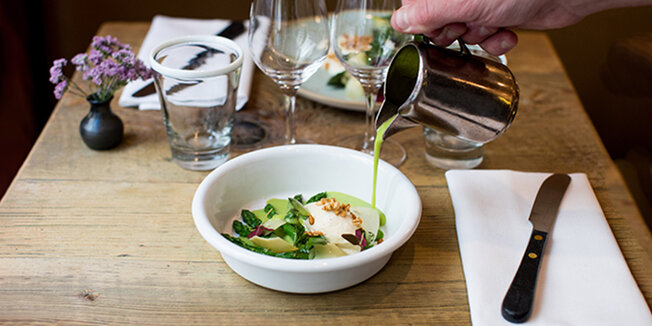
4. Use props wisely: Occasionally, props like utensils, napkins, or ingredients can add context and interest to a shot. However, moderation is key – the dish should remain the central focus. Before taking the shot, quickly check to ensure everything appears neat without distracting elements around the plate or within the frame.
5. Don't Rely on a Single Perfect Shot: Capture multiple shots from different angles to increase your chances of obtaining a fantastic image. This also allows for more versatile use of photos (such as reusing the dish in your Instagram feed at a later time). Remember, patience is crucial; rushed photos often lack desired quality, appearing blurry or poorly lit.
6. Edit Your Photos… thoughtfully!: Editing apps can enhance the overall appearance of your photos. Adjust brightness, contrast, and saturation, or crop out irrelevant elements to make your photos stand out. Popular editing apps include Adobe Lightroom, Snapseed, and VSCO. Most phones also include basic editing features in their standard photo gallery apps. Be cautious not to overdo it, as excessive editing can make your photos look unnatural or misleading. Strive for consistency and avoid heavy filters whenever possible.
7. Practice, Practice, Practice: Photography is an art. Therefore, take numerous shots from various angles and compositions. Review your shots, learning from what works and what doesn't. You'll quickly develop an instinct for whether a photo is right or if it needs to be retaken. Refine your approach to presenting your dishes in the most enticing manner possible. The more you practice and experiment, the better you'll become at creating those mouthwatering visuals.
How to share restaurant food photos for maximum engagement
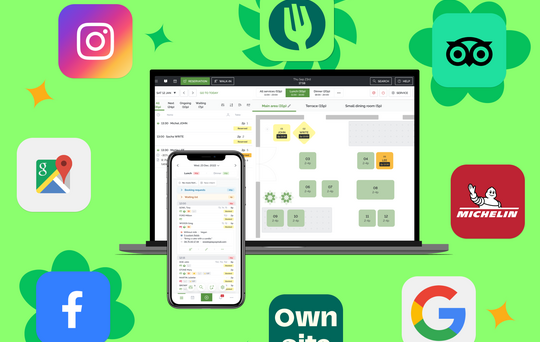
Now that you're content with your photos, it's time for more people to see them. Your restaurant page on TheFork is the perfect platform to showcase your business to thousands of visitors. Instagram can help you get more guests through the door too - and for that, we’ve written another article to guide you in boosting reservations through social media.
Uploading photos is simple via TheFork Manager on desktop or the app. Additionally, you can directly link photos to specific dishes on your menu, providing the most comprehensive experience possible on your page.
Transform good photos into more guests
Want to attract more guests to your restaurant with a beautiful and meticulously curated restaurant page with stunning photos? It's easy to do. With these tips for food photography for restaurants, you’ll be on the right track. Join TheFork Manager by sharing your contact info here, and let's work together to make it happen.
Empty tables and ever-increasing costs?
- Importance of restaurant food photography
- Smartphone photography done right
- 7 essential food photography tips for restaurants anyone can use
- Try TheFork Manager today
- How to share restaurant food photos for maximum engagement
- Transform good photos into more guests
- Empty tables and ever-increasing costs?

